一、目标
使用ida来动态调试so,这里我们以 AndroidNativeEmu使用指南 里面创建的libnative-lib.so为例
二、步骤
- 首先在ida的安装目录下找到对应的 android_server 文件,如果手机是64位的就使用 android_server64 (我的系统在/Applications/IDA Pro 7.0/ida.app/Contents/MacOS/dbgsrv: 目录下),拷贝到手机 /data/local/tmp 目录下面
adb push android_server /data/local/tmp- 修改文件属性为可执行
adb shell
su
cd /data/local/tmp
chmod 777 android_server
./android_server- 在Mac系统下映射android_server的调试端口23946
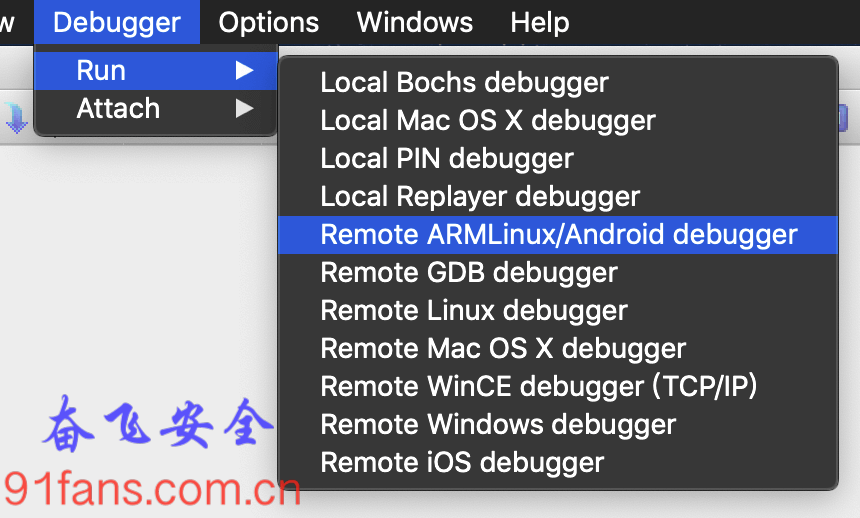
adb forward tcp:23946 tcp:23946./fenfeiida -p23333- 从手机中启动mysdk,然后在电脑上启动ida,选择 Android debugger
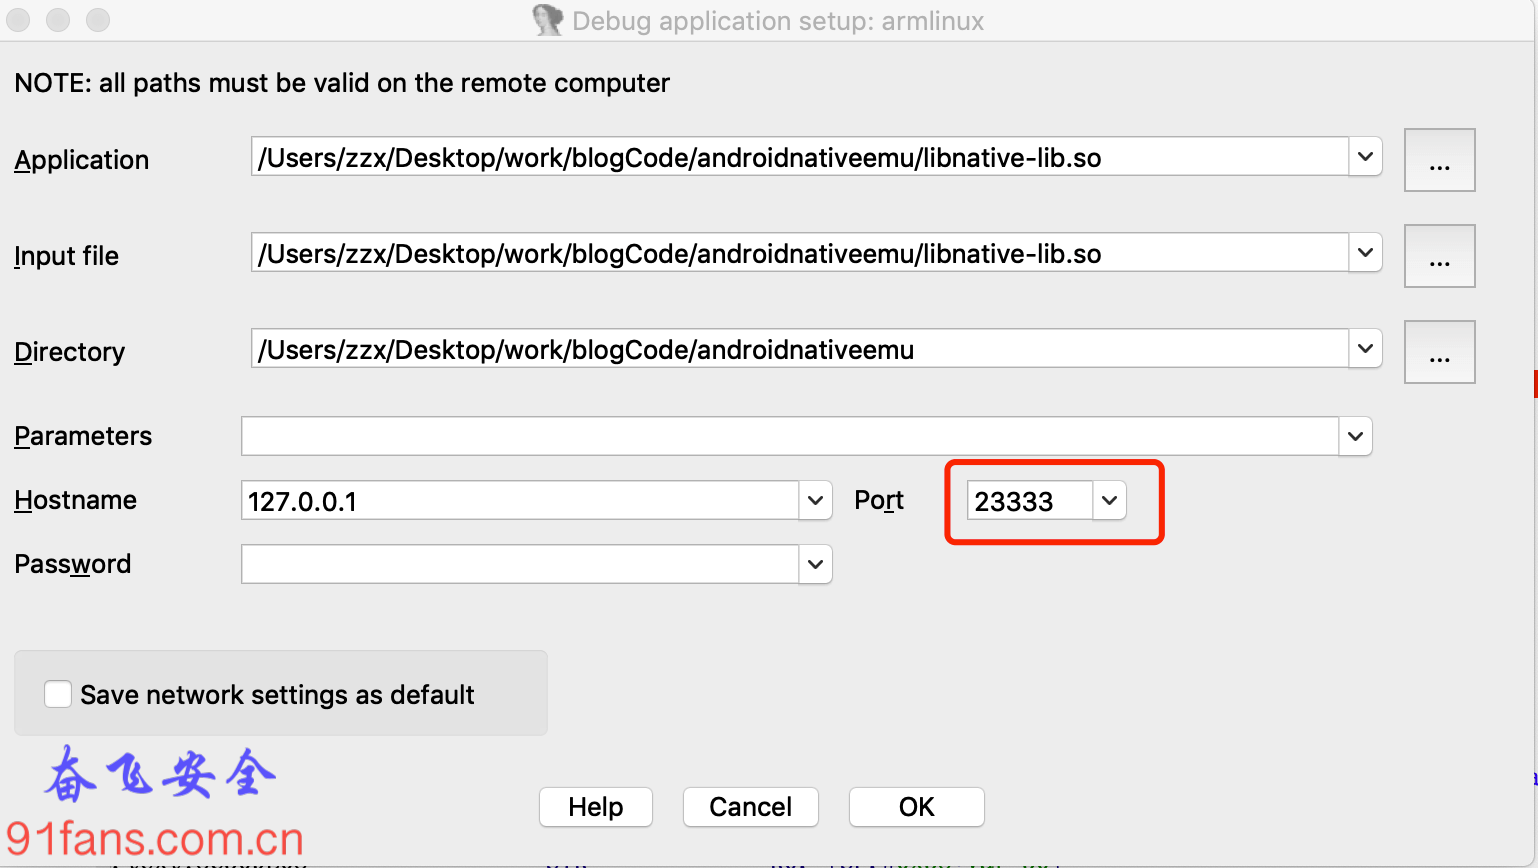
- 在 Process options 中配置好上一步设置好的调试端口 23333
- 然后 Attach to Process,从弹出的窗口中选择 com.fenfei.myndk

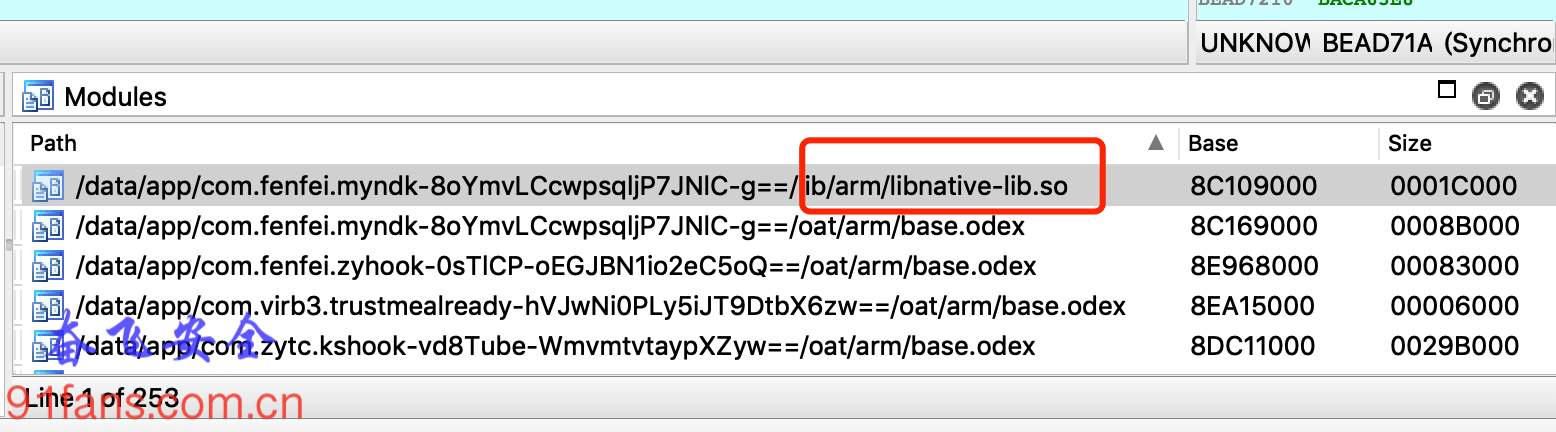
- 双击之后就开始调试 com.fenfei.myndk进程了,从模块窗口中选择我们要调试的 libnative-lib.so
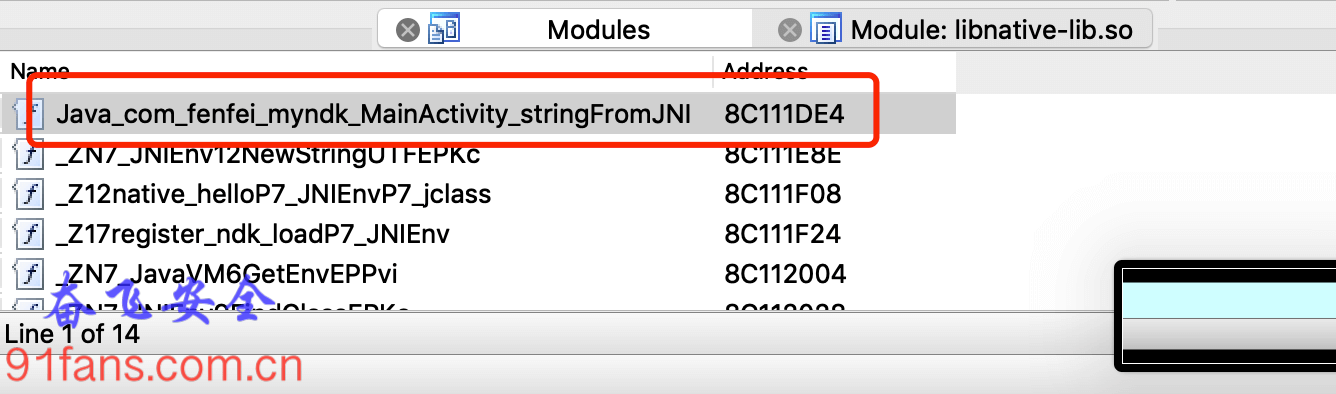
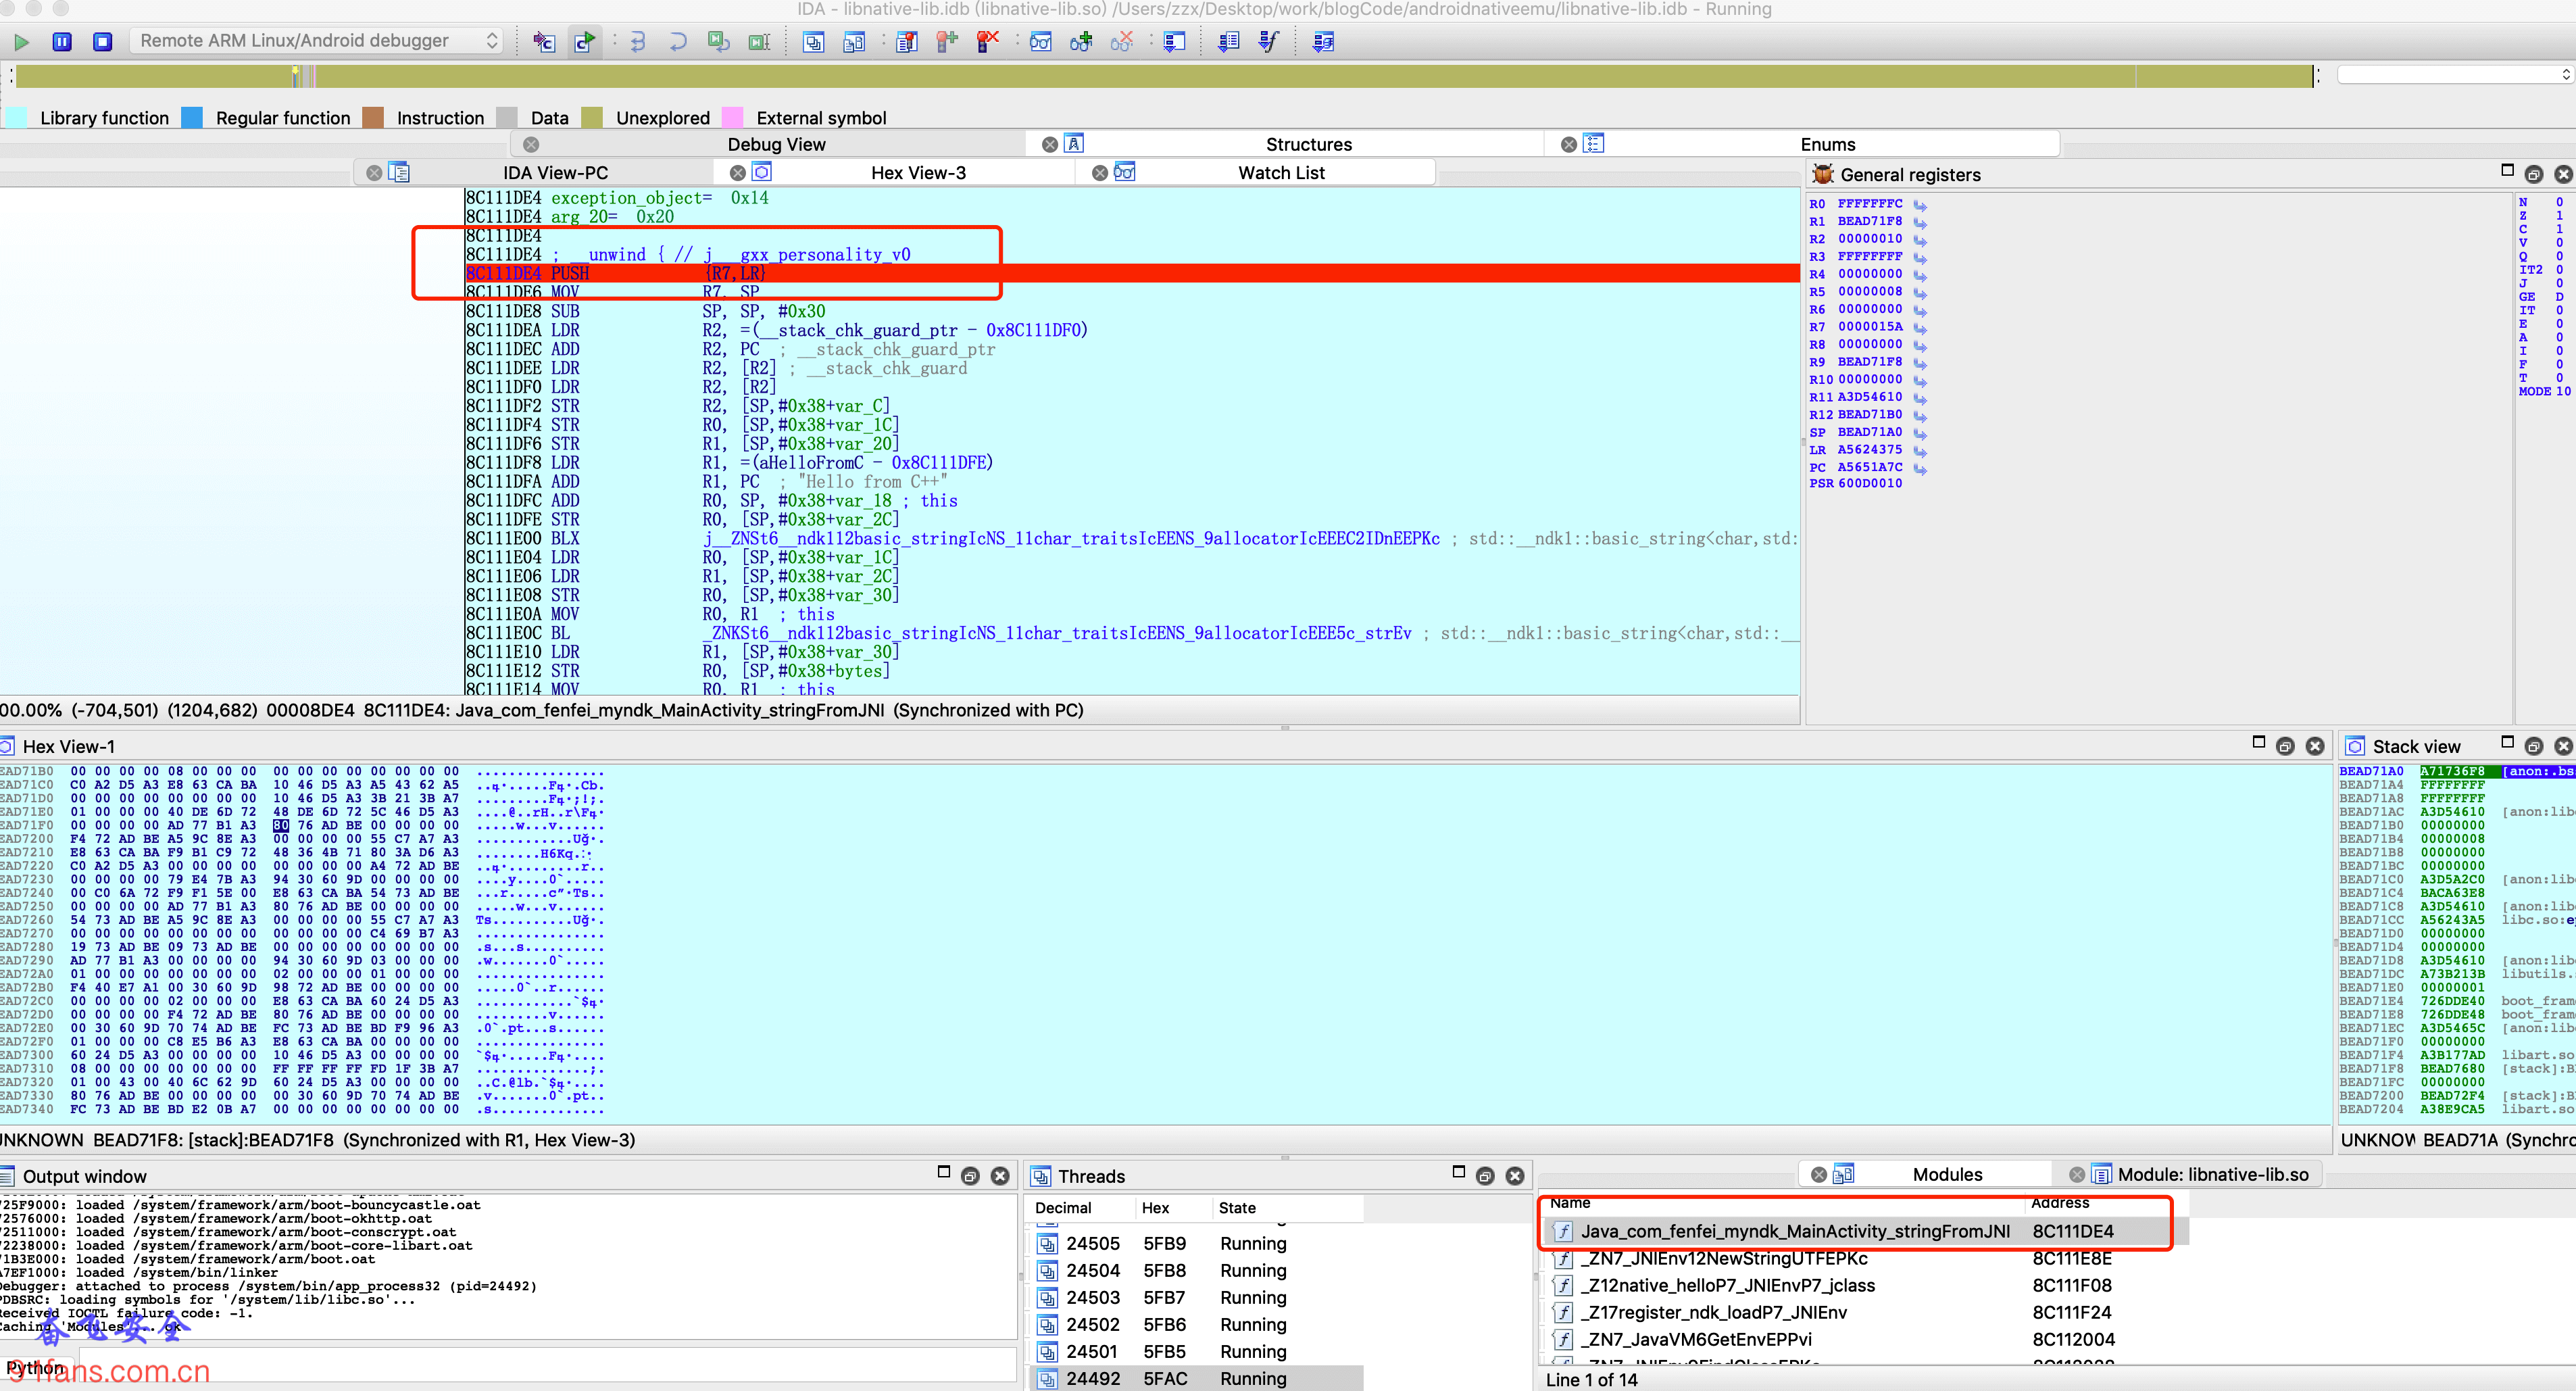
- 双击so之后就会显示这个so所有的导出函数,在要调试的函数F2下断点
- F9 继续运行程序,就可以断在我们下的断点处了
三、总结
ida除了静态分析二进制文件之外,在动态调试方面也是有一定的优势的。

关注微信公众号,最新技术干货实时推送